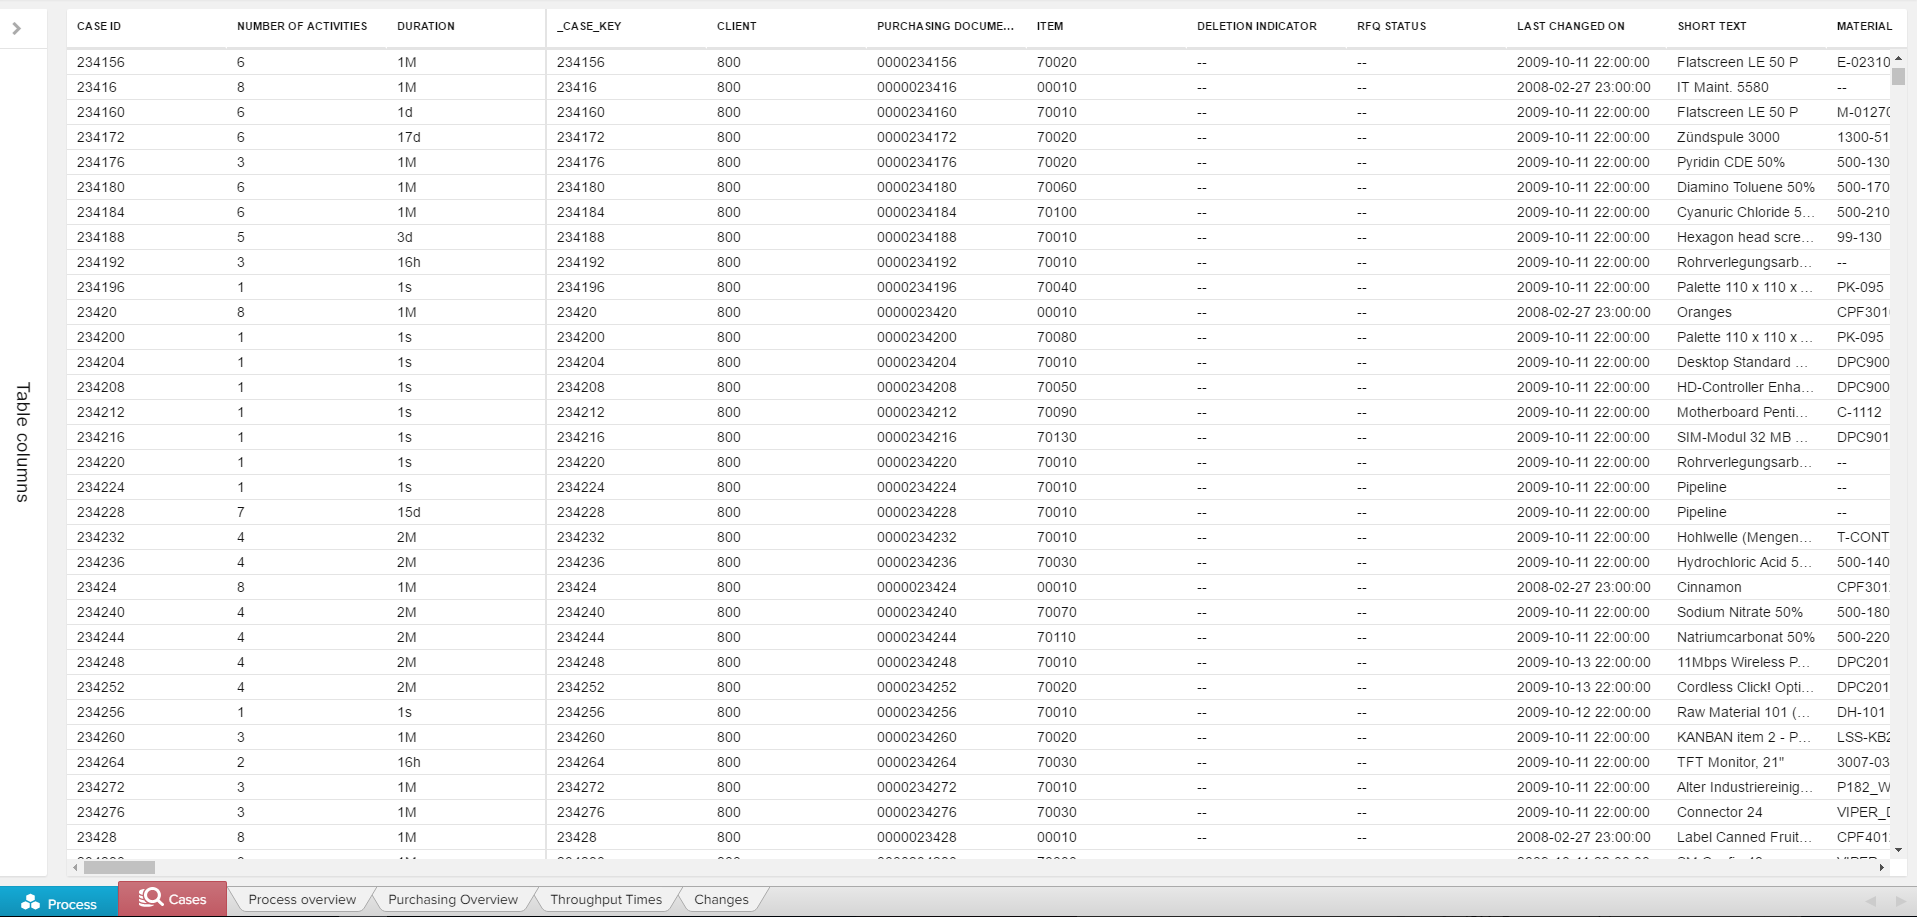
The Case Explorer is an intuitive tool for examining single cases and their associated activities.
The data provided will be presented as a table:
| Tip | ||
|---|---|---|
| ||
As the Case Explorer usually displays a lot of cases, you might want to start ordering the columns, to obtain relevant information at a glance. Simply Drag&Drop the columns with your mouse. |
Search
To search for data in a specific column, hover the column title. A lens icon will show up next to the column title:

Click the lens to open a search field.

Enter your search and press Enter on your keyboard.
Now the whole table will only show cases that include your search value in your selected column.
You can even apply different searches on various columns!
Just repeat these instructions for any other column.
All columns that are affected by a search will be marked with a blue lense:

To alter or delete your search, click on the lense. The search field will open again.
Sorting
To sort one or several columns, left-click on any column title. A sorting field will come up:
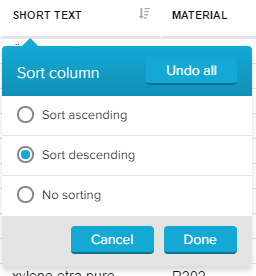
You can choose between a descending sorting rule, or an ascending sorting rule.
By default, every column is set to "No sorting" (and will thus be sorted by the Case ID column).
| Info | ||
|---|---|---|
| ||
Your Data Model might already include sorting rules for the Case Table. These can be pre-defined in the Data Integration process (learn more about Data Integration in the Data Scientist chapter). |
You can recognize active sorting rules by a small ![]() symbol. You can alter or remove your sorting rule by clicking on this icon.
symbol. You can alter or remove your sorting rule by clicking on this icon.
| Tip | ||
|---|---|---|
| ||
To undo all existing sorting rules (among all columns), select |

Case Details
Choose any case from the table, to see its details on the right side.