...
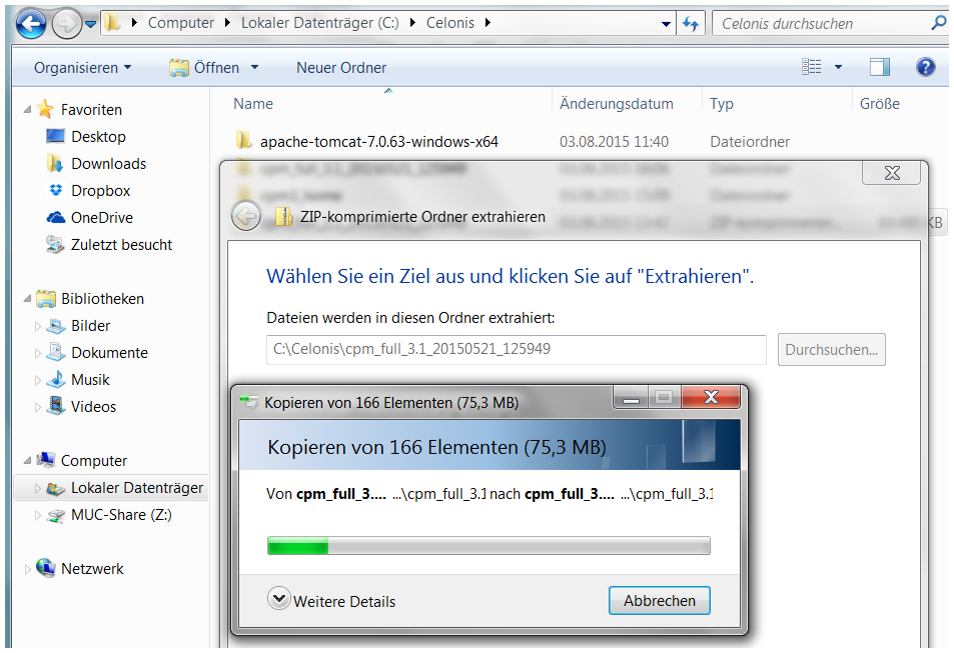
name structure: cpm_full_VersionNr_yyyymmdd_hhmmss
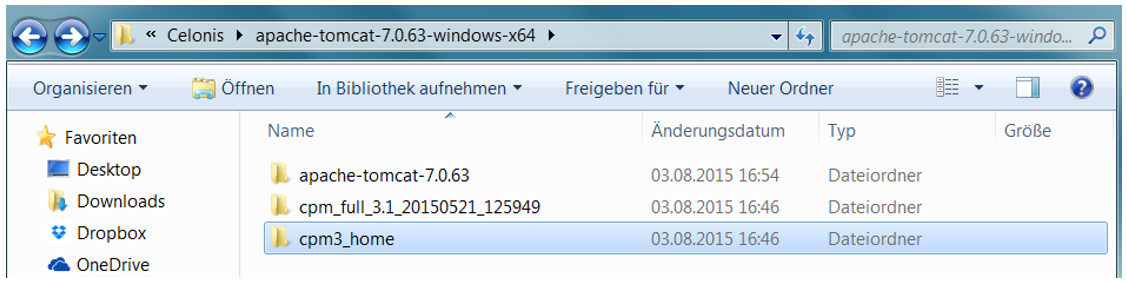
Create another folder called cpm3_home. This will be the folder the application uses to store its configuration.
Copy the config.properties.sample file from “cpm_full_3.1_20150521_125949\WEB-INF\classes” to the cpm3_home folder.

Rename the file to config.properties and open it in a text editor. This is the main configuration file for Celonis Process Mining - all options as well as these steps are explained in this file.
...
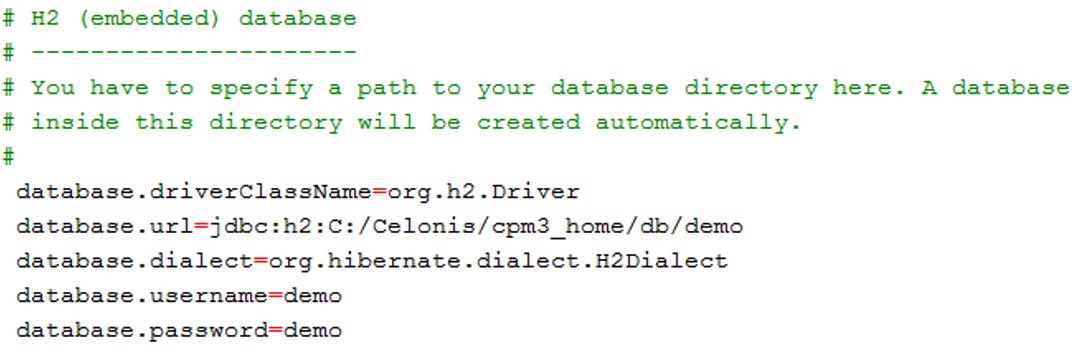
Uncomment the part of the database you want to use and adjust the information as you can see in the following H2 database example.

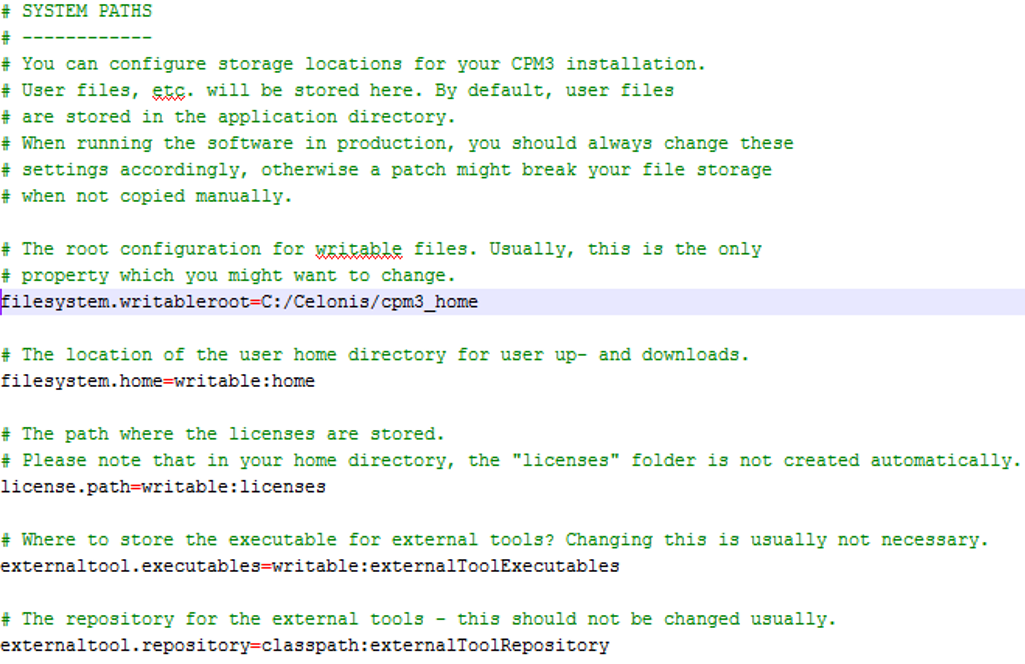
Another important step in the config.properties file is to configure the filesystem.writableroot in the section “System Paths”. Here you should take the path to thecpm3_home folder. (C:\Celonis\cpm3_home)

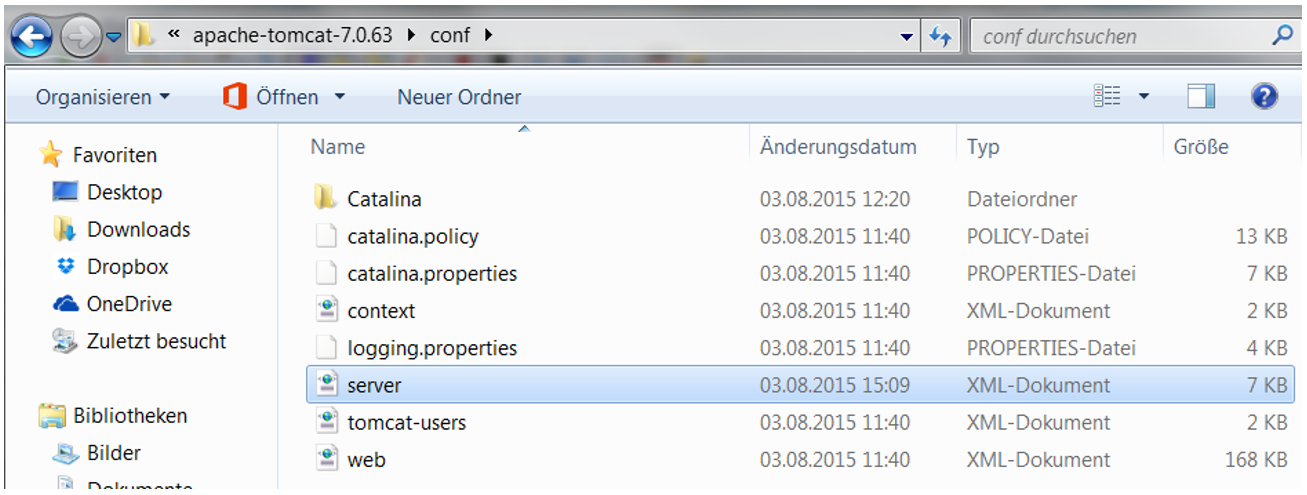
Set up the config file location in the application server’s server.xml configuration file which is located in the conf-folder of the application server installation.
Expression to be inserted at the end of the server.xml file (On the following Screenshot you can see the exact inserting-section):
...
Set the path to the unpackaged application (docBase) and the configuration (value) accordingly.

...

The “path” is what you have to open on the last step of this manual.
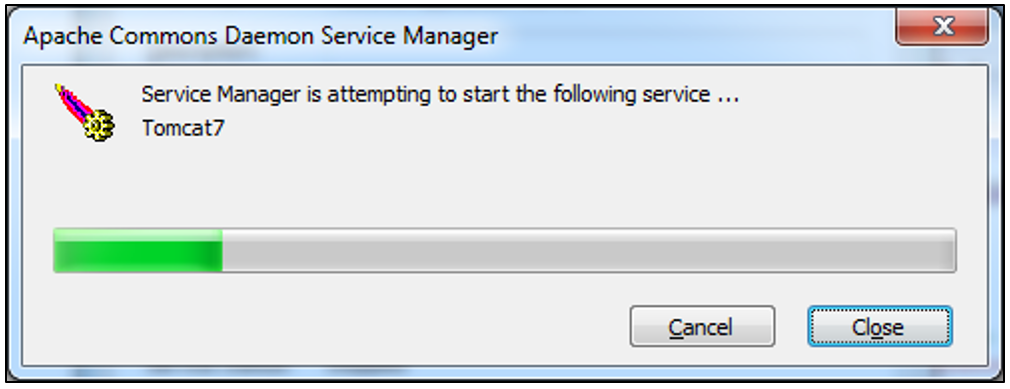
After that, the application server’s service needs to be restarted.
Open Celonis Process Mining in your browser (Google Chrome or Mozilla Firefox preferably) to check if the application has started. (http://localhost:8080/cpm)
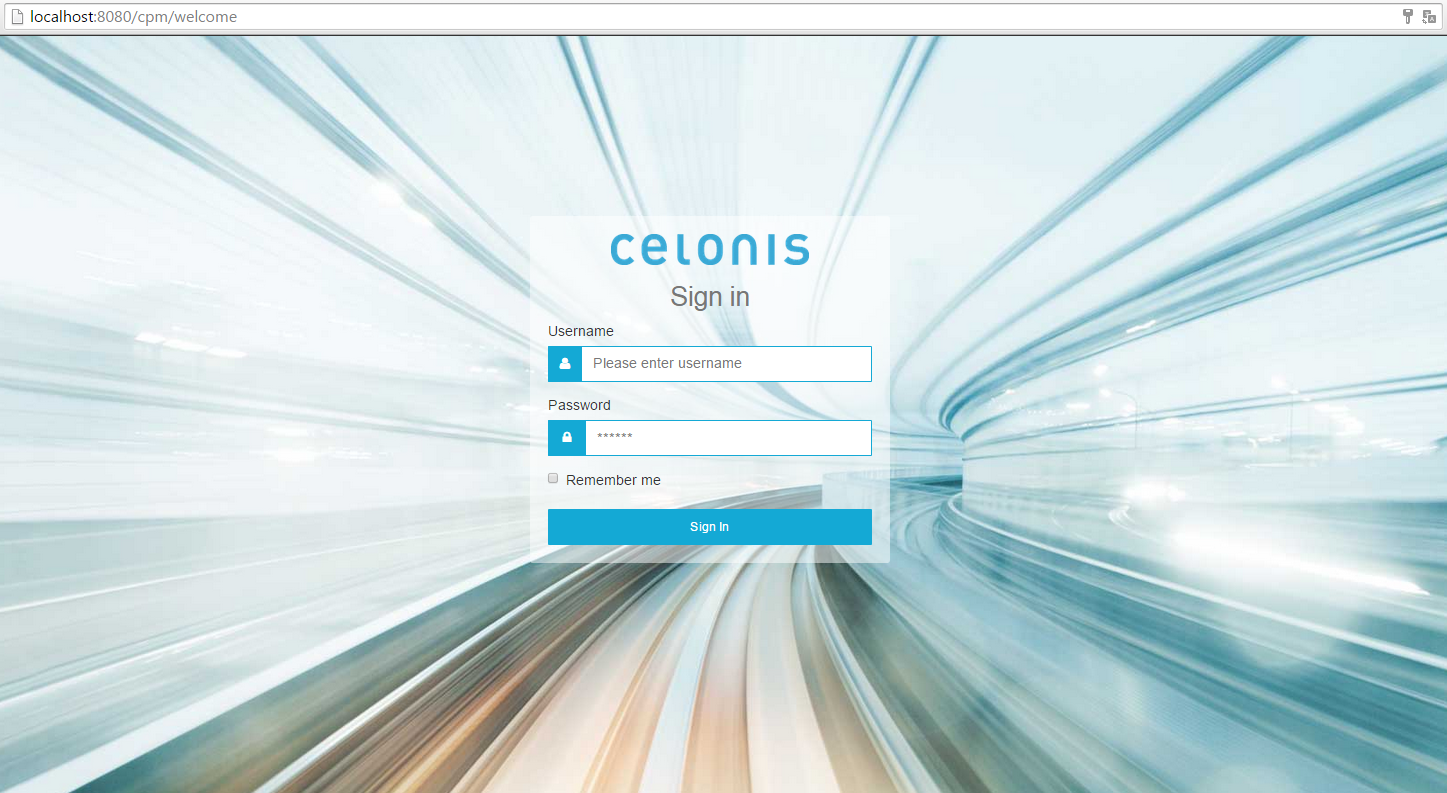
You have successfully finished the installation!