The whole Data Integration process aims at creating a Data Model, that is ready to use for your analysis document.
This section is therefore designed to be a tutorial, that can easily followed by with your own data!
After you completed a step, you can proceed to the next step with the  button.
01 - Create A New Data Model
Create a new data model in your project navigation.
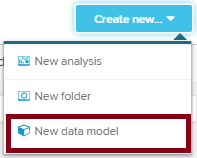
If you are in the data model section in your project navigation, use the  button in the upper right corner.
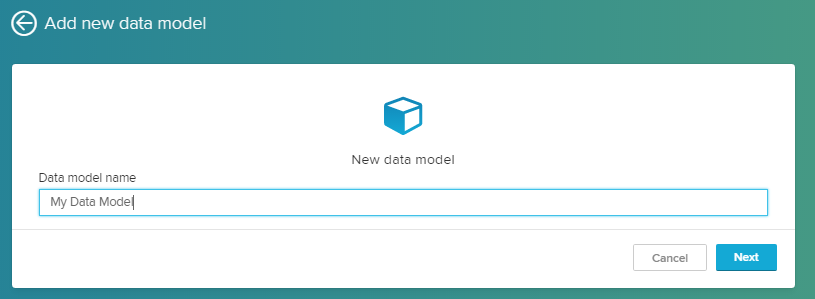
02 - Name Your Data Model
Assign a unique name to your data model. This name will appear in the project navigation.
03 - Import Your Data
At this point, you will be redirected to the Graphic editor. This is the central navigation base to edit your data model.
You can access all configurations that will follow again to edit your data model.
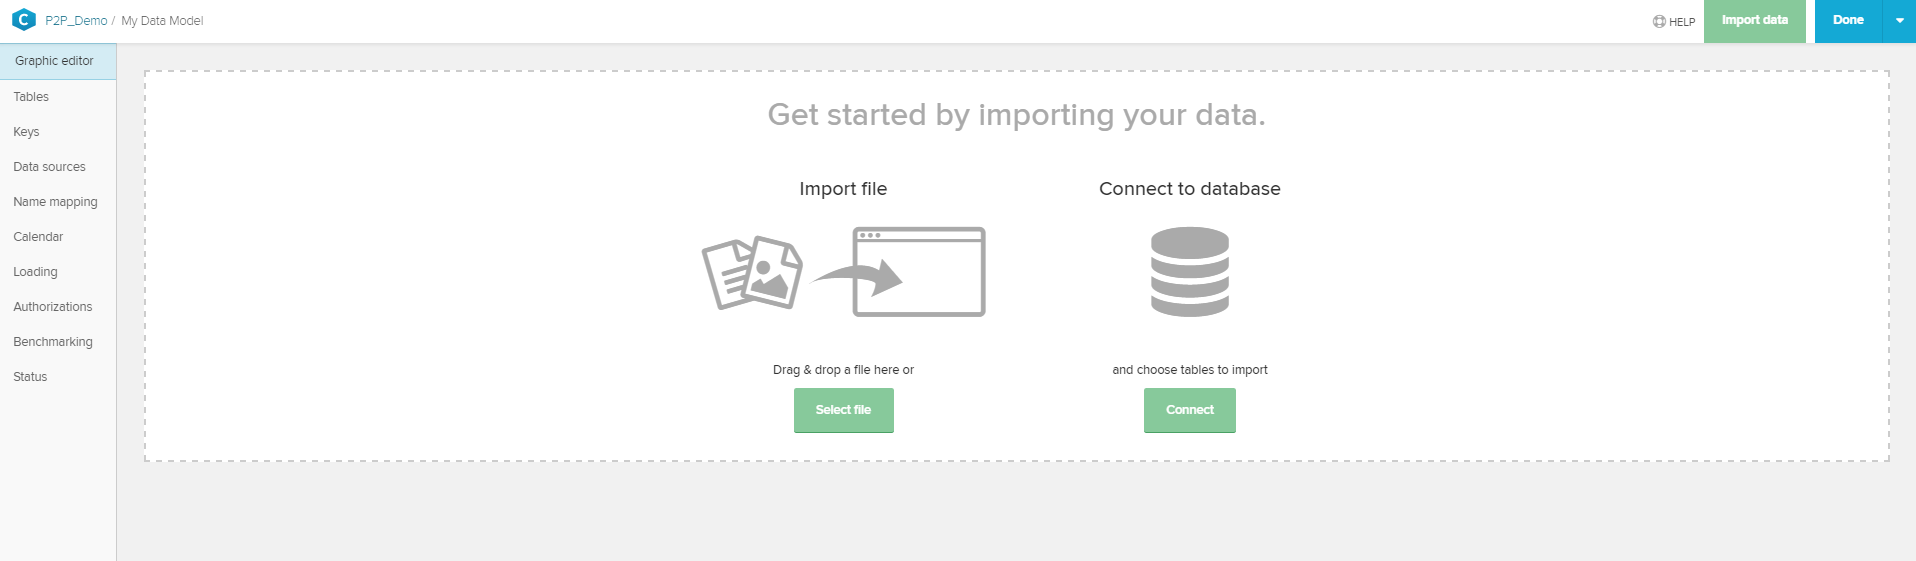
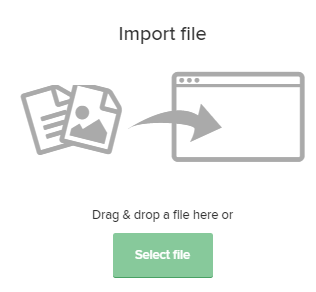
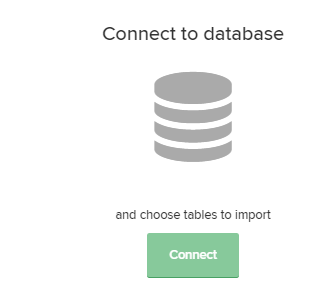
You can import your data from a file (.xlsx, .csv and .xes are supported), or connect an existing data base.
Proceed with choosing one of the following links:
...
Start creating a new data model!