In this section, you will learn about authorization objects and how to use them. Authorization objects are a handy way to manage access to data within analyses. For access limitations of whole documents/projects, please refer to Set permissions.
Authorization objects are typically used to restrict access for users/groups to the data necessary for their field of work. This can be for example regional (by market, country, continent), division (company code) or client based.
Add Authorization objects
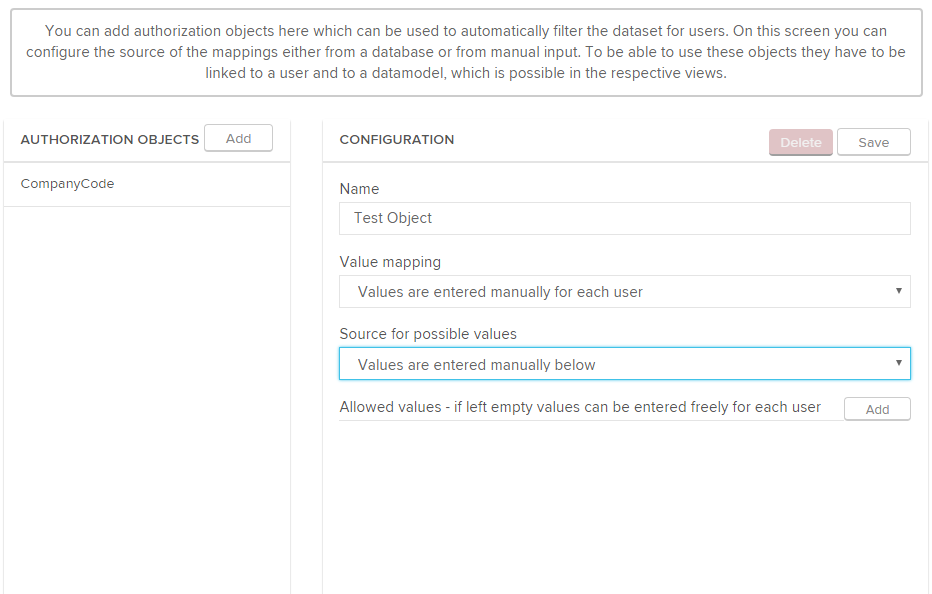
To enable authorizations, you first have to add authorization objects to Celonis 4. This can be done by opening the Authorizations tab on the homescreen. Click on the -button next to Authorization Objects and a form will appear.
First, you should specify a meaningful name for the object. Then you can decide whether the values for your mapping should be queried from a database or entered manually.
- Values Queried from a database: In this case, you have to pre-configure the connection and queries in a configuration file on the application server itself. Please refer to the Operation Guide on how to configure SAP Process Mining by Celonis on OS level.
- Values entered manually: You can choose this option if you want to add the allowed values manually. Be aware that the values have to be adapted everytime they change.
Add the authorization object by clicking on the -button.
Apply Authorization Objects to Datamodels
After you have added all required authorization objects, you have to apply them to the dedicated datamodels. To do so, open the authorizations tab in your datamodel.
You should see all added Authorisation Objects in the bottom left box. To deploy an authorization object to the datamodel, simply hover over it and click on the emerging add button.
A configuration template will open. Choose the associated table and column for the authorization object and press save.
Add Authorizations to Users
In the last step, you have to apply the authorizations to the respective users. Open the Users tab on your homescreen and select an affected user:
Click on the here - link on the bottom of the form to get to the authorizations view:
Now you can choose the authorization objects that should be applied and add the according values. Once you have done this, the user can only view the part of the data you have authorised him for.


