The name mapping allows you to enable translations for technical and language specific terms. It is possible to use translation tables from databases, create an excel template and edit it on your machine or even define analysis specific translations.
To enter the name mapping configuration open the Data Model Editor of your datamodel. You can find the name mapping in a own tab in the Data Model Editor:
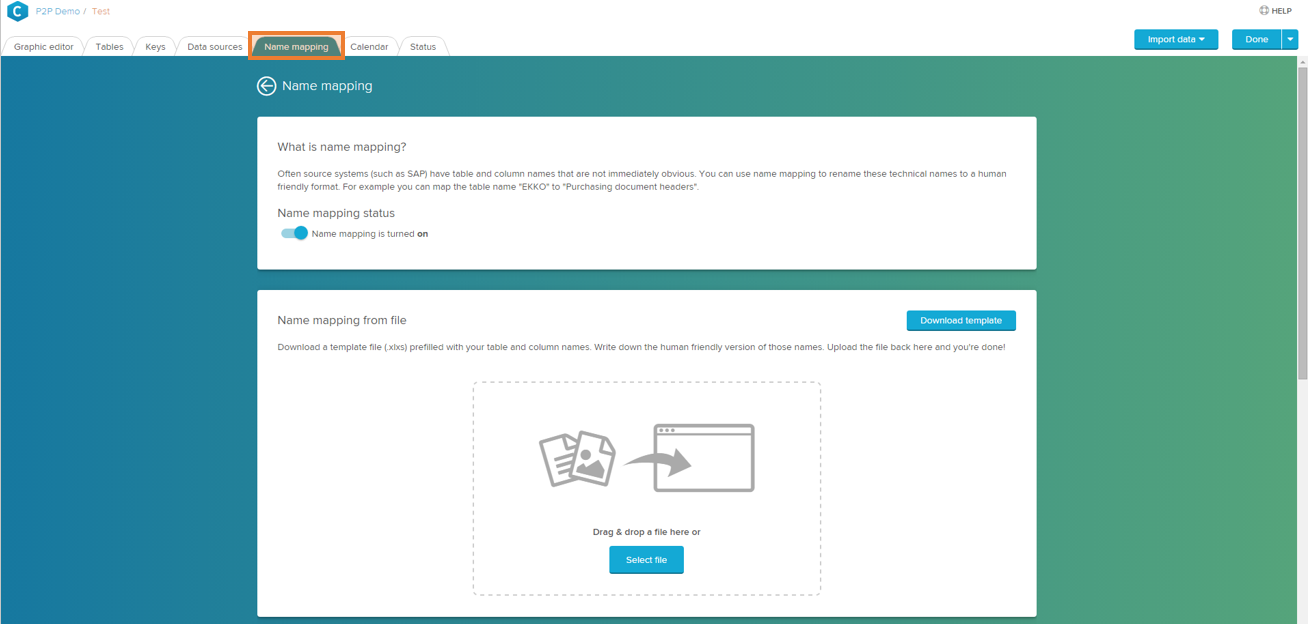
To enable the name mapping on a datamodel, switch on the toggle: 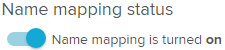
Excel Upload
The name mapping provides the possibility to download a template for your current datamodel and its tables. In this template you can specify translations for every technical name of your tables and columns.
- To download the template, click:

- To upload the adapted template with your translations, click on
 or drag and drop the file to the highlighted area:
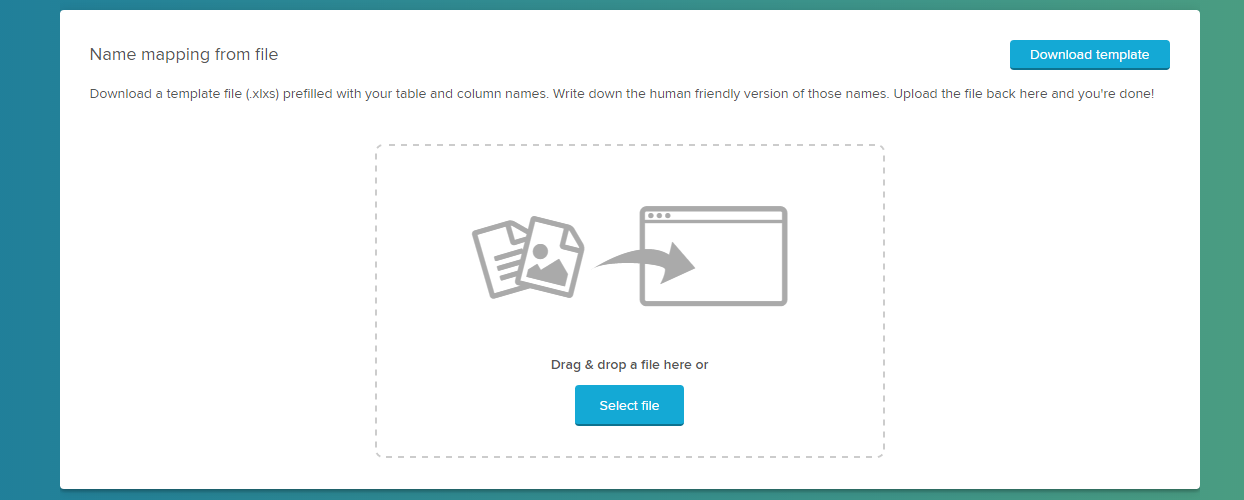
- To download the template, click:
Name Mapping from a database table
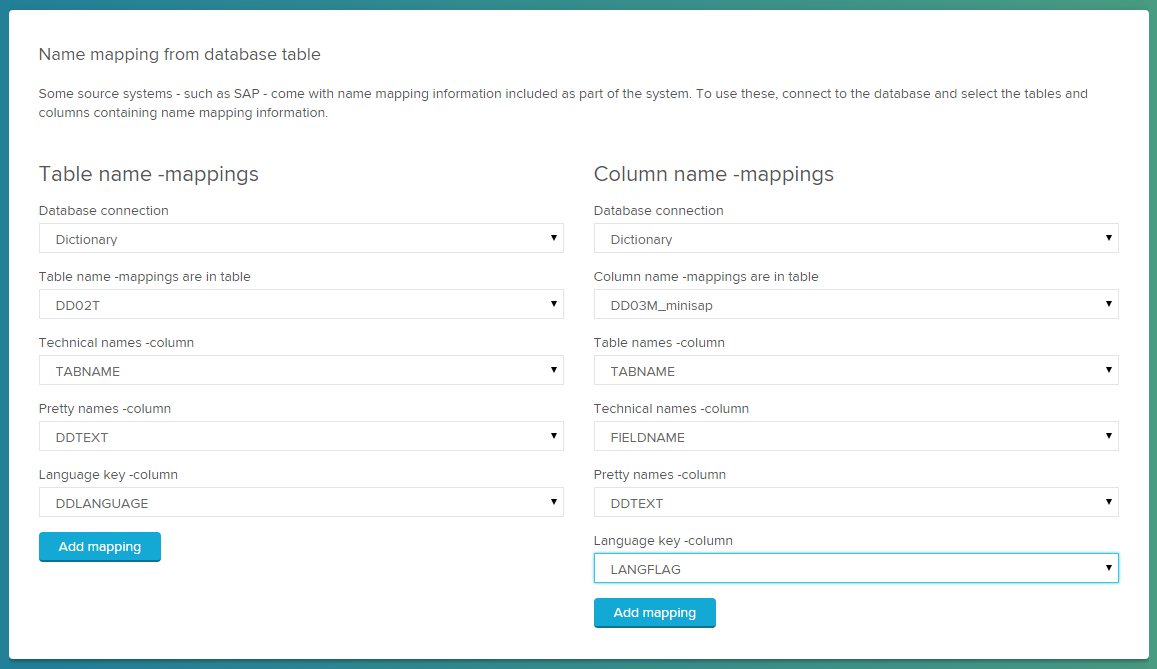
It is also possible to define a name mapping over a dictionary table in a database. On every dataload of the datamodel the name mapping will be updated automatically and load all translations available to your datamodel's tables and its columns.
To apply the name mapping for table names from a database table choose the correspoding database connection, the table's name, the column with technical table names, the column with translations and the column with the language key. For the column name mapping the database connection, the table name, the column with table names, the column with technical column names, the column with translations and the column with the language key have to be selected one after another in the available dropdowns. To apply the name mapping with the chosen database connection click on 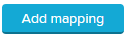 :
:
Analysis specific translations
You can also specify analysis specific translations. Therefore you have to enter the name mapping editor in the analysis. You can enter the name mapping editor via the button that is available with activated name mapping next to function title inputs:

In the name mapping editor you can specify custom translations for the analysis. To add an analysis specific translation click on:  .
.
To apply the name mapping the following syntax has to be used: #{Technical Name}. The expression in the brackets will be replaced by the translation that is set in the name mapping.
Example:
One simple example how to use the name mapping is to replace a technical description set by a variable with a userfriendly name.
- It is possible to set variable names with a button:
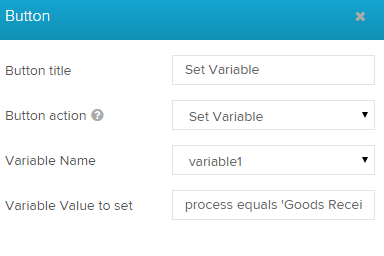
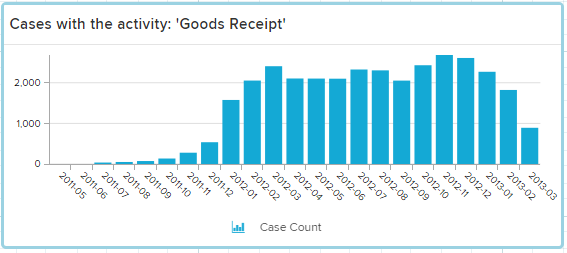
2. If you now use the variable in a component title and the component filter, the name mapping allows you to translate the technical function and use a understandable title. The title: "Cases with the activity: #{<%=variable1%>}"
and the component filter:

will then result in a filtered down component with a nice title: